Showing posts with label HLS. Show all posts

Tuesday, 2 August 2016

Happy Little Stampers CAS Challenge - Masking A Scene


Hi all you lovely people.  August is here, all too quickly again, so it's time for another challenge over at Happy Little Stampers CAS and this time the challenge is to Mask A Scene . . . no groaning in the back there, I heard you, I also felt like groaning until I tried it!  Turns out it is easier than you think and it's a whole heap of fun too!  Added to that the kudos of everyone who doesn't know how easy it is thinking that you are a genius!!  If you pop on over there, you will see my fellow team members samples and some very helpful videos to help you with this.  


Also, don't forget there are added incentives with prizes from HLS who are sponsoring this challenge.

http://happylittlestampers.weebly.com/ 

Without further ado, here is the card and I will post instructions and supplies below.


First I took a plain, white card base - I forgot to say, this is actually a OLC - and I masked of a strip with masking tape (low tack, also placed on my arm a few times to remove even more of the stickiness).  Next, I punched a circle out of masking paper and adhered it where I wanted my sun to be.

Then I took Distress Ink in Scattered Straw and a jumbo dauber (I find those easier to use than the blending tools, but that is just me) and sponged very lightly around the circle mask, for the sun.

Next, I took some Distress Ink in Tumbled Glass and lightly sponged an area above and below the sun.  The final piece of sponging was the ground area, which I did in DI Gathered Twigs.

The final touch to the scene was to stamp my images.  I used Versafine Black Onyx ink for that and stamped some grasses and birds from the Penny Black Natures Friends stamp set with a first generation and second generation stamping and also some grasses from the Stampin' Up Wetlands set.

When I had finished creating my little scene, I carefully removed the masking tape and stamped my sentiment, also from, the Stampin' Up Wetlands set.

There you have it, a very simple, one layer card that will make everyone think you are an artist!  You can also, mask off images and stamp over them to build up a scene too!  So, come and join in the fun and let us see what you have come up with . . . I can't wait to see them!  Have a crafty day!  Hazel xx

Saturday, 2 July 2016

Happy Little Stampers CAS Challenge - Kissing


Hi, all you happy little stampers!  Another month gone and another upon us already!  That means it's time for another challenge over at the Happy Little Stampers CAS challenge blog, and this month it is for 'Kissing', no, no, not the smoochy, mmwah,  mmwah kind, stay tuned and I'll explain all.


Before I show you the card and explain the technique, let me just tell you that Happy Little Stampers are sponsoring this challenge, so there are prizes to be had!  Now, my card.


'Kissing' as used in the stamping world refers to inking one stamp and then touching it face to face with another stamp . . . hence, kissing.  I will explain the technique and the supplies used here.

First, I chose my two stamps for the technique, this was a My Favorite Things 'Cheesecloth' background stamp for the texture and a very old rubber stamp that I have had for years (of course, I can't remember who it was by, I didn't need to know in the days prior to my blogging).

Next, I inked up the image stamp in a light coloured ink, which in this case was Altenew Crisp ink in 'Buttercream' and then, I took the background texture stamp and inked it up in Altenew's, 'Caramel Toffee' . . . after using those two, I longed for something sweet, but I digress.  I touched the faces of the two stamps together and then stamped (the now textured image) on to a piece of white card-stock.  This technique can also be used by inking one stamp, but not the other, so that when the two stamps are pressed together, the un-inked one takes off some of the ink from the other one, which gives you a different effect - try both - you might like one better than the other, but I like both.  I found that if I used the second technique it was better to use the darker ink, because a lighter one is a little too subtle to notice, but you might like that effect!

Then I mounted that panel on to a panel of black card-stock, because I wanted to stamp the sentiment in black and needed to tie that in.  The sentiment was from the Happy Little Stampers, 'Birthday Friends' set, which you can find here.  Click on image.

http://happylittlestampers.weebly.com/

Then. I mounted the whole thing on to a cream coloured card-stock to coordinate with my chosen ink colours.

This is a really simple technique that is a lot of fun, so what are you hanging around here for, get over to HLS, have a look at the other team members inspiration and watch some of the videos demonstrating the technique and join in fun with us!

As always, thank you so much for your visits and kind comments.  Have a lovely, crafty day!  Hazel xx

Thursday, 2 June 2016

Happy Little Stampers CAS Challenge - Ghosting


Well, my goodness, gracious me, yet another month has whizzed by, so fast I very nearly missed it!  This means we have another fun challenge over at the Happy Little Stampers CAS blog.  This month it is Ghosting . . . no, not the spooky kind . . . stay tuned and I'll explain, but first, you need to pop on over to HLS and check out the videos there explaining this technique and the other design team members fabulous examples.

http://happylittlestampers.blogspot.com/2016/06/hls-june-cas-challenge.html

As always, HLS is sponsoring this challenge from the HLS shop.

So, without further ado, here is my card and the explanation will be below for those interested.


First, I took a white card base, a grey, slightly textured panel smaller than the card front, and a strip of navy blue card-stock.

The first thing I did was to stamp the flower silhouette in white pigment ink and let it dry, then I stamped it again in navy ink, just a little offset and let that dry.  Whilst that was drying, I took a piece of white card-stock and stamped the sentiment in navy and adhered a small strip of navy card-stock on to the bottom of the sentiment piece to tie it in and adhered foam tape to the back.

The nest step was to mount a strip of navy card-stock to the back of the focal panel an mount the whole thing up on fun foam to the card base and the sentiment strip to finish.

Now it is your turn and I can't wait to see what you come up with!

Supplies used:

Stamps: Lindsay Mason - Hope Blooms
Cards-stock: Smooth White, Grey textured, white and navy snippets
Ink: White Pigment & Navy Dye Ink

Monday, 2 May 2016

Happy Little Stampers CAS May Challenge - Inlaid Die Cutting

Another month has whizzed by in a flash, which can only mean one thing . . . I missed it!  No, seriously, it is time for another fun challenge over on the Happy Little Stampers blog for this month's CAS challenge which is for, 'Inlaid Die Cuts'

As always, the challenge is being sponsored by Kylie and the Happy Little Stampers shop

http://happylittlestampers.weebly.com/

Which means, there are prizes to be won!  This is my card and an explanation of how it was made - especially for any new card makers who have not come across, 'Inlaid Die Cuts'


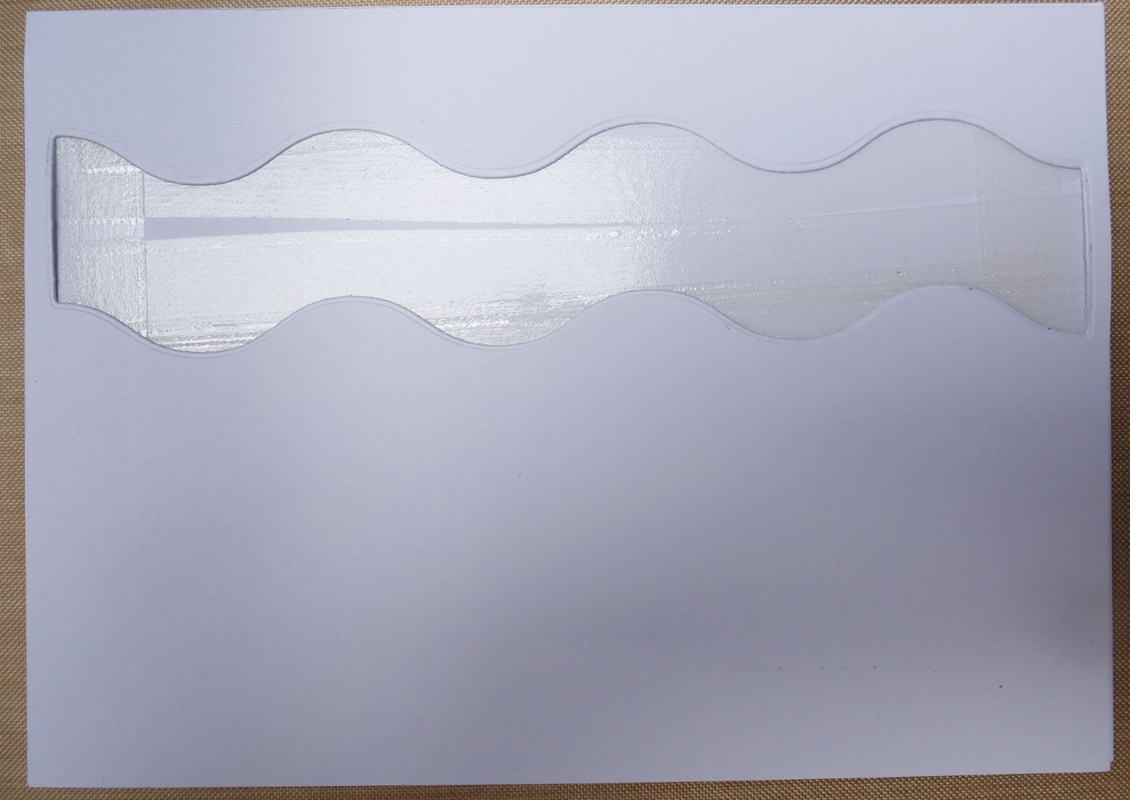
First, I cut out the pieces.  A piece of card the same size as the card front, then I cut the die out of the card front and three different shades of blue card-stock.  The next thing was to put adhesive all over the piece of card-stock to mount the die cut pieces in to.

I then adhered the piece of card-stock that was covered in double sided adhesive behind the cut out on the card front.

The final step was to just inlay the coloured card-stock pieces into the cut out in the card front (like a very easy jigsaw puzzle) and add the final touch, a die cut sentiment from My Favorite Things.  The wavy border die was from Reverse Confetti.

Here is the finished card.


I now have enough pieces to make a set of these cards.  The beauty of this die is that with the wavy lines being different widths, there is a large number of different ways they can be used . . . I have reserved the maths for you to work out ;)  


Why not pop over to HLS and see what other inspiration the rest of the design team has come up with and join in the fun!  Thanks for stopping by . . . I love you all, have a crafty day!

Saturday, 2 April 2016

Happy Little Stampers CAS April Challenge - Stencil Monoprinting


Hi folks, well, that's another month gone!  That means we have a brand new challenge for you all, over at Happy Little Stampers CAS challenge and this month it is for 'Stencil Monoprinting' . . . never heard of it?  No?  Well head on over there and watch the videos on the subject and see the other members of the design team's terrific examples.  


As always, Kylie is sponsoring this challenge which means there are prizes to be won from the HLS shop!

 For my card this month, I used a stencil, cut for me by my very kind friend Loll and a stamp & die set from WPlus9 called, 'Sunshine Layers'.

First, I lay the stencil down on my craft mat and used my Delicata Ink Pad to ink it up, then I very lightly sprayed with gold spritz.  Next, I lay my focal layer on top of the stencil, face down and rubbed all over the back with my fingers to get an impression. 
The ‘texture dots’ you see are just the effect that water in the gold spritz  has when sprayed on the Delicata Gold ink (it’s a metallic pigment ink)  As that was drying I cut a layer of black card-stock just a bit bigger than my focal layer and the 'Sunshine' die cut out of the same black card-stock.

When the focal layer was dry I mounted it on to the black mat and mounted that on top of the base card.  Finally, I stamped the other part of the sentiment on to a piece of white card-stock, another slightly larger piece of black card-stock and finally mounted it on to the focal piece with foam tape for dimension.

This is my card, unfortunately, as always, it was impossible to catch the glimmer & shimmer that is on the card in real life :(


I hope that gives you some inspiration and we can't wait to see what you all come up with.  Have a wonderful day!  Thanks for stopping by.  Hazel xx

Tuesday, 2 February 2016

Happy Little Stampers CAS Challenge


 Hi my crafty friends!  WOW!  The first month of the year, gone, already!  That means that this is a new start to the second month of 2016 and another CAS challenge over at Happy Little Stampers CAS

http://happylittlestampers.blogspot.com/2016/02/hls-february-cas-challenge.html 

This month it is Embossing Folder Stamping, and again, HLS are sponsoring this challenge!


This is my card


I used an X-Cut 'Parquet Floor' EF for the stamping and some soft pink pigment inks.  First I took the ink pads straight to the embossing folder and spread a little around, softened the edges a bit with a baby wipe and sprayed lightly with a mist of water. 

Next, I lay the panel face down on to the inked EF and pressed on the back of the card-stock - I find it easier to control where the image goes that way - spritzed again lightly with some pearlised mist spray then put it aside to dry.  Whilst it was drying I die cut my butterfly layers out of a 'smooshed' piece of card and plain white card and layered them together.

When my piece was dry, I die cut it with one of my favourite layer dies, WPlus9 'Sunshine Layers' and adhered it to my base card.  Then I added my butterfly and my sentiment with foam tape and to tie in the pop of black I added some black 'enamel' dots.

Why not pop on over to HLS and see what my fellow design team members have come up with for your inspiration this month and join in this fun challenge.  Please remember to keep your entries CAS.

I can't wait to see what you all come up with.  Have a wonderful month of crafting bliss!  Hazel xx
Saturday, 2 January 2016

Happy New Year!


Happy New Year to all of you, my lovely lovely blogging friends!  I trust everyone had a wonderful Christmas and hope you all have a very happy year to come!

My, how 2015 wizzed past and I am hoping that 2016 will take a more leisurely pace . . . though, I suspect not!

As it is the start of a New Year, that must also mean the start of a new CAS challenge over on the Happy Little Stampers  blog and this one is for 'Smooshing'

http://happylittlestampers.blogspot.com/2016/01/hls-january-cas-challenge.html

Kylie is very generously sponsoring the challenge again and giving away one of Happy Little Stampers very own stamp sets!

http://happylittlestampers.weebly.com/

Without further ado, let's look at my card for this, our very first challenge of 2016!


The first thing I did was to take a panel of watercolour paper and make the background piece, by using my Distress Ink pad in Picked Raspberry on a craft sheet and spritzing it with water - I also spritzed the watercolour panel with water too, in order to allow the ink to move, then smooshed it into the puddle of ink.

I let the panel dry and then dabbed the dry panel down in the wet ink again and repeated this a couple more times, until I got the look I was going for.

Next, I cut the word Happy out of the panel with a die from Clearly Whimsy and twice more out of white cardstock and layered them on top of one another for dimenson.

Then, I cut a white panel out, smaller than the watercolour panel with a Lawn Fawn Stitched Hillside die and mounted that on to the watercolour panel with foam tape.  I then adhered the whole panel on to a white card base.

I finished off by adhering the die cut word on to the card and stamped the rest of the  sentiment from Avery Elle's 'Label Love' stamp set and mounted that with foam tape.

Finally, I added a few enamel dots in pink and black to tie the whole thing together.

Why not join in the fun and pop along to see all the other fabulous designs made by my fellow team members and enter to stand a chance of winning a prize!

That's it for this first post of 2016, thanks for stopping by and for all your support and love during 2015!  

May this year bring all nice things to your lives! Hazel xx

Sunday, 20 December 2015

Last Post & Challenges For 2015 & A Word Of Thanks


Hello crafty beings!!  I have some cards for you today, that will probably be the last until next year (maybe), some of which are for some last minute challenges and others are just for my 'stash'.  I know you are all extremely busy at this time of year, but I just wanted to thank you all for following me, supporting me, and inspiring me throughout 2015.  Without all of you, my fabulous blog friends and your continued inspiration my card making would have probably stagnated, instead - I think - it has grown and blossomed. So, thank you, thank you, thank you from the bottom of my heart.  I can't wait to see what you all create in 2016!

Without further ado and no more 'waffling', here are the last of my cards.

First up is another card for the Freshly Made Sketches #217 - A Sketch by Linda

http://freshlymadesketches.blogspot.co.uk/2015/12/freshly-made-sketches-217-sketch-by.html

It is the 'negative' of the first one I made for this challenge.  I am also entering it in the Happy Little Stampers CAS Challenge 'Favourite Technique', because my favourite technique of late has been 'negative die cutting'

http://happylittlestampers.blogspot.com/2015/12/hls-december-cas-challenge.html
This is the card, unfortunately I've just realised that you can't see the red foil peeking out from underneath that snowflake ... but it is there!


The next card is made from 'snippets' laying around on my desk and getting in the way.  The snippets are, the striped piece that was made using black sparkle gel through a striped stencil and a flower that I had punched out quite a while ago, and I am going to enter that into Pixie's Playground  I'm ashamed to say that I keep forgetting about this fun challenge and have neglected it during 2015.  Sorry Di, I will try to do better in 2016!


Finally,  the last two cards are just for my stash for next year - I'm determined not to be so behind next year - a couple of New Years resolutions in there somewhere!


There you have it my wonderful, wonderful friends, all that is left is for me to say is , have a truly magical Christmas wherever you are and whatever you do and I can't wait to see you all over in 2016!

Thanks for taking time out of your busy lives to visit!  Hazel xx